Nail Art Designs: Express Your Style with These Gorgeous Trends
September 22nd, 2024 by Janie Wilson
Hey there, nail enthusiasts! Are you ready to dive into the colorful, creative world of nail art? Whether you’re a seasoned pro or just starting to explore beyond your basic manicure, this guide is packed with inspiration, tips, and tricks to help you achieve stunning nail designs. From simple elegance to eye-catching glamour, we’ll cover it all. So, grab your favorite polish, and let’s get started on this fabulous nail art journey!
Table of Contents
The Magic of Nail Art
Nail art is more than just a beauty trend – it’s a form of self-expression that allows you to showcase your personality right at your fingertips. With endless possibilities for colors, patterns, and techniques, nail art has become a beloved way to add a pop of creativity to any outfit or occasion.
Why Nail Art?
- Express yourself: Your nails can be a canvas for your mood, style, or even the season.
- Boost confidence: Beautifully decorated nails can make you feel put-together and fabulous.
- Conversation starter: Unique nail designs often spark interesting chats and compliments.
- Affordable luxury: Compared to other fashion accessories, nail art is a budget-friendly way to indulge in some personal pampering.
Now that we’ve covered why nail art is so amazing, let’s explore some of the hottest trends and designs that are taking the beauty world by storm in 2024!
Simple Nail Art Designs for Beginners
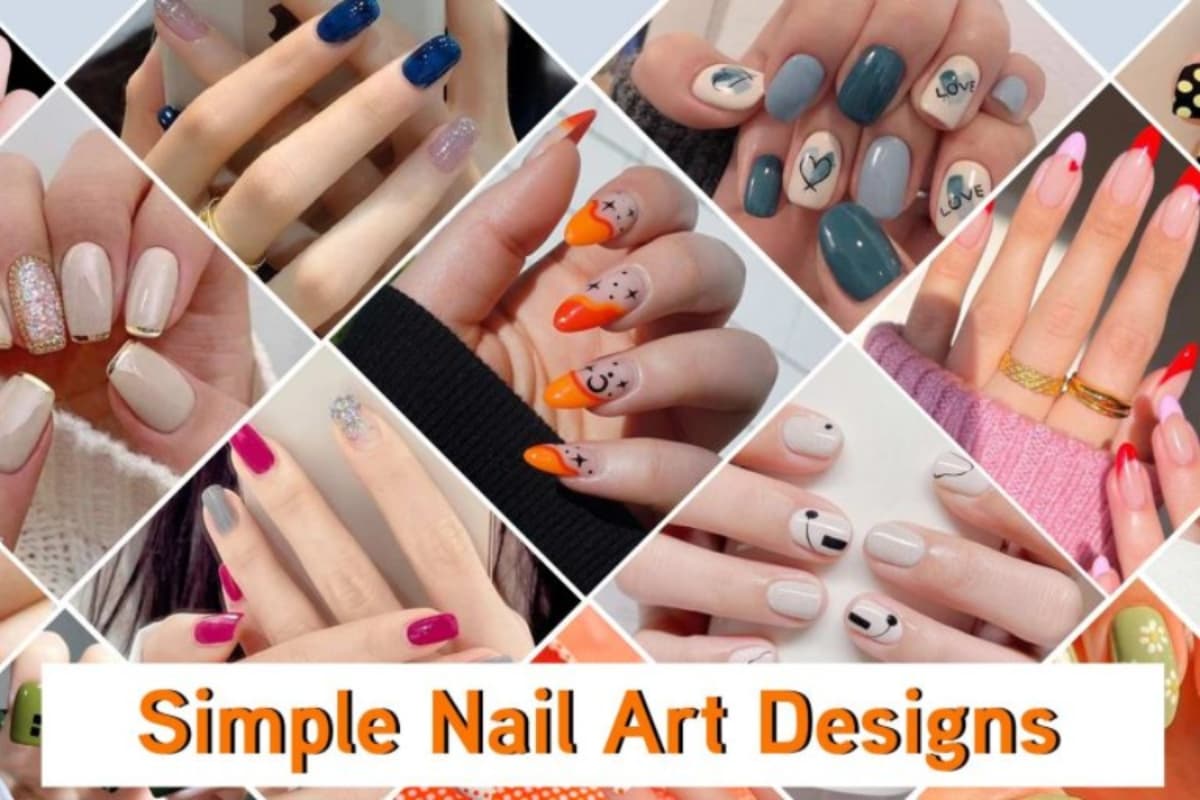
Don’t worry if you’re new to nail art – we’ve got you covered with some easy-to-achieve designs that look absolutely stunning. These simple nail art ideas are perfect for those just starting their nail art journey or anyone looking for a quick, effortless style.
1. Polka Dots
Polka dots are a classic nail art design that never goes out of style. Here’s how to create this playful look:
- Apply a base coat in your chosen color.
- Once dry, use a dotting tool or the round end of a bobby pin to create dots in a contrasting color.
- Experiment with different dot sizes and patterns for variety.
2. Stripes
Stripes are another simple yet chic option for nail art beginners:
- Start with a base color and let it dry completely.
- Use thin strips of tape to create straight lines on your nails.
- Paint over the exposed areas with a different color.
- Carefully remove the tape while the polish is still wet.
- Finish with a top coat for a smooth, glossy finish.
3. Ombré Nails
Ombré nails create a beautiful gradient effect that’s surprisingly easy to achieve:
- Choose two or three complementary colors.
- Apply the lightest shade as your base coat.
- While the base is still wet, dab a small amount of the second color onto a makeup sponge.
- Gently press the sponge onto your nail, blending the colors together.
- Repeat with the darkest shade if using three colors.
- Clean up any excess polish around your nails with a small brush dipped in nail polish remover.
These simple nail art designs are perfect for everyday wear or as a starting point for more complex creations. Remember, practice makes perfect, so don’t be discouraged if your first attempts aren’t flawless – keep at it, and you’ll be amazed at how quickly you improve!
Wedding and Bridal Nail Art
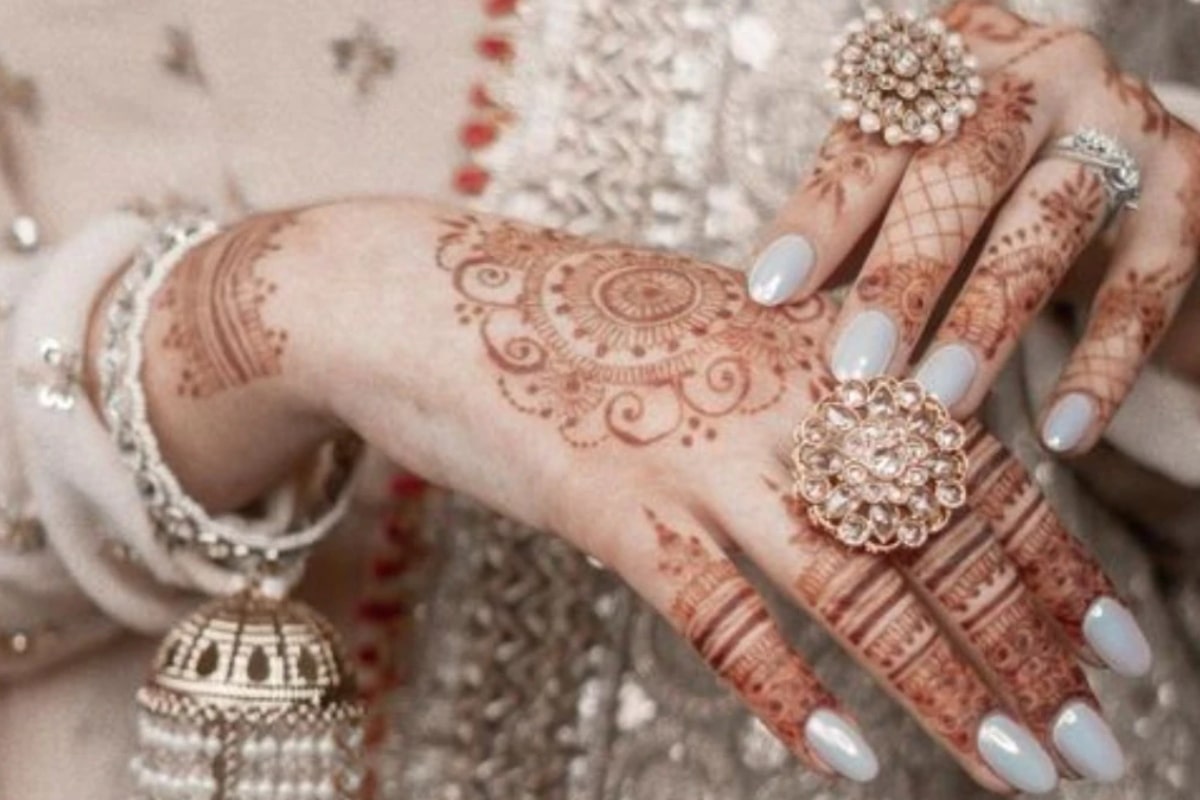
Your wedding day is one of the most special occasions of your life, and your nails should reflect that! Bridal nail art has come a long way from the traditional French manicure (although that’s still a beautiful option). Let’s explore some gorgeous wedding nail art ideas that will complement your bridal glow.
1. Elegant French Twist
Give the classic French manicure a modern update:
- Start with a nude or pale pink base.
- Instead of a straight white tip, create a diagonal or curved line for a fresh take.
- Add a touch of sparkle with a thin line of glitter between the base color and white tip.
2. Lace-Inspired Designs
Mimic the delicate patterns of your wedding dress with lace-inspired nail art:
- Apply a sheer pink or nude base coat.
- Use a thin brush or nail stamping tool to create intricate lace patterns in white.
- Add tiny pearls or rhinestones for extra glamour.
3. Something Blue
Incorporate the “something blue” tradition into your bridal look:
- Paint most of your nails in a soft nude or blush pink.
- On one or two accent nails, create a pale blue watercolor effect.
- Add delicate white floral designs over the blue for a romantic touch.
4. Glitter and Glamour
For brides who love a bit of sparkle:
- Choose a neutral base color like champagne or ivory.
- Apply a glitter gradient, starting from the cuticle or tip.
- Seal with a glossy top coat for long-lasting shine.
Remember, your wedding day nail art should complement your overall bridal look without overshadowing it. Consider your dress style, wedding colors, and personal taste when choosing your design.
French Nail Art: A Timeless Classic
The French manicure has been a nail art staple for decades, and for good reason – it’s elegant, versatile, and suits any occasion. But who says you have to stick to the traditional pink and white? Let’s explore some creative twists on this classic look.
1. Colorful French Tips
Swap out white for bold colors or pastels:
- Apply a neutral base coat.
- Use tape or nail guides to create crisp lines.
- Paint the tips in your chosen color – think coral, mint green, or even metallic gold.
2. Glitter French
Add some sparkle to your French manicure:
- Start with a sheer pink or nude base.
- Apply glitter polish to the tips instead of white.
- Experiment with different glitter sizes and colors for various effects.
3. Ombré French
Blend two colors for a soft, romantic look:
- Apply a light base color.
- Use a makeup sponge to create an ombré effect on the tips, blending two complementary colors.
- Clean up any excess polish for crisp lines.
4. Double French
Take your French manicure to the next level with a double-lined design:
- Paint your nails with a nude base.
- Create a thin white line at the tip of your nail.
- Add a second, colored line just below the white one for a fun pop of color.
French nail art continues to evolve, offering endless possibilities for customization. Whether you prefer subtle elegance or bold statements, there’s a French nail art design for everyone.
Trending Nail Art Designs for 2024
As we move through 2024, nail art trends are all about self-expression, creativity, and pushing boundaries. Here are some of the hottest nail art designs that are taking the beauty world by storm this year:
1. Negative Space Designs
Negative space nail art involves leaving parts of your nail unpainted for a striking, modern look:
- Apply a base coat to protect your nails.
- Use striping tape or nail vinyls to create geometric shapes.
- Paint over the exposed areas with your chosen color.
- Remove the tape to reveal clean lines and unpainted sections.
2. 3D Texture
Textured nail art adds depth and interest to your manicure:
- Start with a base color of your choice.
- Use a textured polish or add small embellishments like studs or dried flowers.
- Seal with a thick top coat to smooth out the surface.
3. Minimalist Art
Less is more with this chic trend:
- Choose a neutral base color like nude or pale pink.
- Add simple line art or small geometric shapes in black or white.
- Keep the design clean and uncluttered for maximum impact.
4. Holographic Nails
Catch the light with every movement using holographic polish:
- Apply a dark base coat for maximum holographic effect.
- Layer on a holographic top coat or powder.
- Seal with a glossy top coat to enhance the shine.
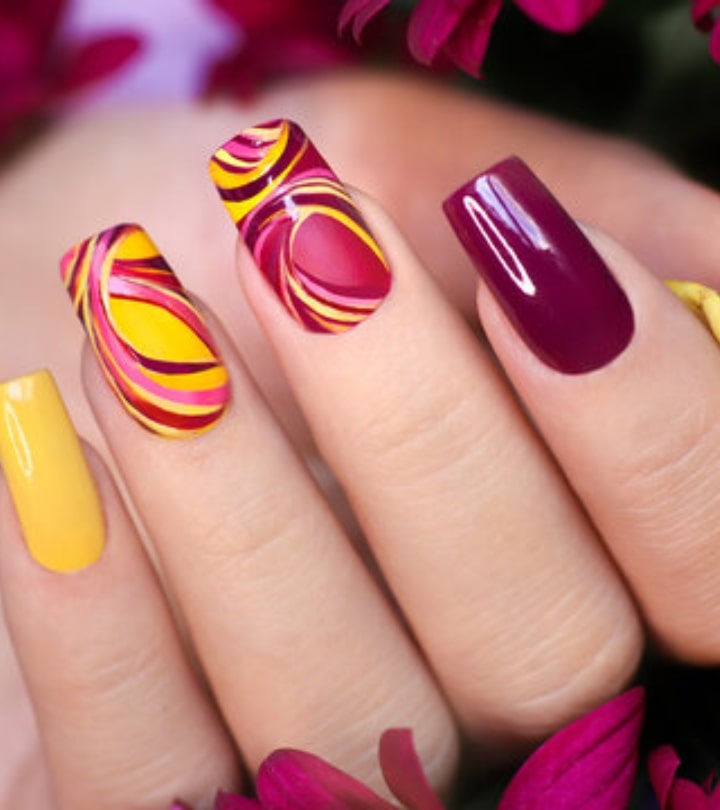
5. Mismatched Nails
Why settle for one design when you can have five?
- Choose a color palette with 3-5 complementary shades.
- Paint each nail with a different color or pattern within your chosen palette.
- Tie the look together with a common element, like glitter or a repeated shape.
Stay ahead of the curve by incorporating these 2024 nail art trends into your manicure routine. Remember, the key to great nail art is having fun and letting your personality shine through!
Glitter Nail Art: Add Some Sparkle to Your Life
View this post on Instagram
Who doesn’t love a little (or a lot) of sparkle? Glitter nail art is a fantastic way to add glamour to any look, whether you’re heading to a party or just want to brighten up your day. Let’s explore some dazzling ways to incorporate glitter into your nail art designs.
1. Glitter Gradient
Create a stunning ombré effect with glitter:
- Apply a base coat in your chosen color.
- While it’s still wet, dab glitter polish onto the tips of your nails.
- Use a makeup sponge to blend the glitter towards the center of the nail.
- Add more glitter for a denser effect at the tips.
2. Glitter Accent Nail
Make a statement with a single glittery nail:
- Paint all nails with your base color.
- Choose one nail (usually the ring finger) to be your accent.
- Apply a full coat of glitter polish to the accent nail.
- For extra pop, layer different types of glitter polish.
3. Glitter French Tips
Give your French manicure a sparkly upgrade:
- Start with a nude or pale pink base.
- Use a thin brush to apply glitter polish to the tips of your nails.
- Experiment with different glitter colors for various looks.
4. Glitter Placement
Create intricate designs with individual glitter particles:
- Paint your nails with a base color.
- Use a small brush or toothpick to place individual glitter pieces in patterns.
- Try creating flowers, geometric shapes, or abstract designs.
Remember, when working with glitter polish, patience is key. Allow each layer to dry completely before adding the next to avoid smudging. And don’t forget a good top coat to seal in your sparkly masterpiece!
Nail Art for Short Nails
Don’t let shorter nails hold you back from creating stunning nail art! There are plenty of designs that look amazing on shorter nails and can even make them appear longer. Here are some ideas to try:
1. Vertical Stripes
Vertical stripes can create the illusion of length:
- Paint your nails with a light base color.
- Use striping tape or a thin brush to create vertical lines.
- Choose colors that complement each other for a cohesive look.
2. Negative Space Crescents
This chic design works wonderfully on shorter nails:
- Apply a base coat to protect your nails.
- Use circular nail stickers or a steady hand to create crescent shapes at the base of your nails.
- Paint over the rest of the nail, then remove the stickers to reveal the negative space design.
3. Dotticure
Polka dots are playful and easy to create on short nails:
- Start with a solid base color.
- Use a dotting tool or the end of a bobby pin to create dots in various sizes and colors.
- Experiment with patterns like flowers or geometric shapes made from dots.
4. Micro French Tips
A delicate French tip can elongate shorter nails:
- Paint your nails with a nude base.
- Use a thin brush to create a very slim white line at the tip of each nail.
- Keep the line as close to the edge as possible for a lengthening effect.
Remember, when working with shorter nails, less is often more. Keep your designs simple and delicate for the best results.
Easy Nail Art Designs for Everyday Wear
Want to spice up your daily look without spending hours on your nails? These easy nail art designs are perfect for everyday wear and can be created in no time!
1. Color Block
Simple yet striking, color blocking is a quick way to add interest to your nails:
- Paint half of your nail in one color.
- Once dry, use tape to create a clean line and paint the other half in a contrasting shade.
- Mix and match colors for a fun, playful look.
2. Confetti Nails
Celebrate every day with this cheerful design:
- Apply a light base color.
- Use a small brush to dab on “confetti” in various colors and sizes.
- Keep the confetti sparse for a subtle effect, or layer it on for more drama.
3. Sweater Nails
Perfect for colder months, this cozy design is easier than it looks:
- Paint your nails with a solid base color.
- Use a thin brush to create parallel lines mimicking a cable knit pattern.
- Add tiny V-shapes between the lines to complete the sweater effect.
4. Minimalist Shapes
Sometimes, less really is more:
- Start with a neutral base like nude or pale pink.
- Use a thin brush or nail art pen to draw simple shapes like triangles, circles, or lines.
- Stick to one or two colors for a clean, modern look.
These easy nail art designs prove that you don’t need advanced skills or lots of time to create beautiful nails. With a little practice, you’ll be able to whip up these looks in minutes!
Caring for Your Nail Art
Creating beautiful nail art is only half the battle – keeping it looking fresh and preventing damage to your nails is equally important. Here are some tips to help your nail art last longer and keep your nails healthy:
- Always use a base coat: This protects your nails from staining and helps the polish adhere better.
- Seal with a top coat: A good top coat will protect your design and add shine. Reapply every couple of days to extend the life of your manicure.
- Moisturize your cuticles: Healthy cuticles mean healthy nails. Use cuticle oil daily to keep them nourished.
- Wear gloves for household chores: Protect your nail art from water and harsh chemicals by wearing gloves when cleaning or washing dishes.
- File in one direction: When shaping your nails, file in one direction only to prevent splitting and peeling.
- Take breaks between manicures: Give your nails time to breathe and recover between nail art applications.
- Stay hydrated and eat a balanced diet: Healthy nails start from within. Drink plenty of water and eat foods rich in biotin and vitamins.
Conclusion: Your Nail Art Journey
Congratulations! You’ve just explored a world of nail art possibilities. From simple designs perfect for beginners to elaborate creations for special occasions, there’s a nail art style for everyone and every situation. Remember, nail art is all about expressing yourself and having fun, so don’t be afraid to experiment and create your own unique designs.
Whether you’re rocking a glitter gradient for a night out, sporting elegant bridal nails for your big day, or brightening up your work week with some simple geometric patterns, your nails are a canvas for your creativity. So grab your nail polish, let your imagination run wild, and show the world your style – right at your fingertips!
Happy painting, nail art enthusiasts!