Because of modern technology, we’re able to see a lot of devices developing to get more efficient. This especially applies to hair curling tools, which is why it shouldn’t be surprising to see more and more people wanting to learn how to use a hair waver or a wave iron.
Sadly, a lot of people shy away from these tools because they look complex and confusing. To help you get more comfortable using wave irons. But before that, let’s try to get to know this hairstyling device better.
Table of Contents
What is a hair waver?
It isn’t surprising to see that people aren’t familiar with hair wavers, especially since curling irons and wands are very popular today. To be fair, these tools have been around for decades now, but because of their complexity, some people just tend to ignore them. If you’re one of those who aren’t sure what hair wavers are, the most basic thing you need to know is that it’s a cross between a flat iron and a curling iron. So, how does this tool work?
A hair waver is handled like how you would a flat iron, but it looks like three curling wands that are stuck together. Just one look at it, and you’ll see that they are made up of three heated barrels. This is why some people call them the 3-barrel wavers.
The way they are positioned makes it possible for you to curl your hair without having to wrap them around a barrel. They can create the ridges you need to change the shape of your locks – and all you have to do is press down on it.
Like other hair styling tools, they come in different sizes. They can have a small or large barrel, just like regular curling wands. This gives you the option to choose which one is best for you, depending on the look you want and your hair length.
How do you use a hair waver?
Now that you know the basics about hair wavers, the next thing you need to learn is how to use one. Below are simple steps you can follow to use a hair waver correctly:
Prepare your hair for heat styling
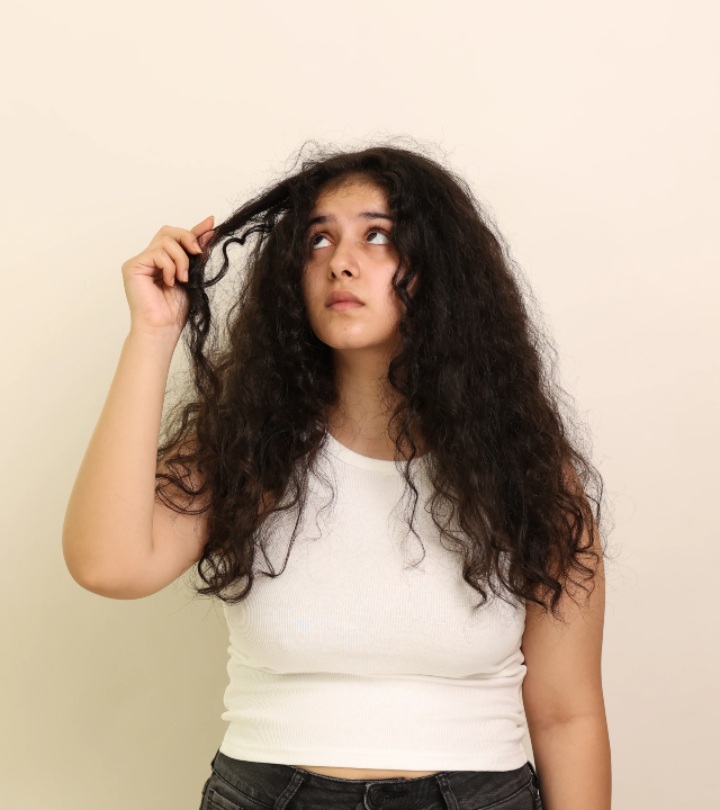
If you’re working with freshly washed locks, you should dry it before you attempt to style it. This is important because using heat on wet hair can damage your locks.
If you’re working with dry hair, you should brush it out to remove tangles. To minimize the heat damage, apply a heat protectant product.
This step is very important, so don’t skip it. If you want to achieve the most beautiful curls and shiniest locks, make sure to prime your hair for the task at hand.
Set up the hair waver
Plug the waver and then select the necessary settings for your locks. Stick to this guide when choosing the right temperature for your hair:
- Fine hair – 300 to 350F or low setting
- Normal hair – 380 to 400F or medium setting
- Coarse hair – 420 to 450F or high setting
Divide your hair into two sections
You’ll get better results if you curl your locks with a hair waver from the bottom to the top. Not only is this method easier, but it also helps you achieve a more beautiful result. You wouldn’t have to put up the hair you’ve already curled just to access the locks under them. Just put up the top part of your hair and then start with the locks nearest to your nape.
Grab a small section of your hair and clamp down the heated hair waver
When doing this, make sure to hold it for five to ten seconds, and then move down the length of your locks. Some people think that choosing where to start clamping down is the trickiest part, but that’s not true. If you want to achieve natural-looking waves, then start as near to the roots as you comfortably can.
Doing this will give your locks some nice lift and volume. If you choose to start curling your locks near the roots at the top of your head, you’re still going to get a more natural-looking finish. It can also give you a polished look, especially if you want a glamorous hairdo.
The tricky part is when you position the tool after the initial curling. Where you clamp down the tool determines whether you’ll end up with tousled beach waves or sleek old Hollywood waves. So, if you want to achieve a sleek, elegant look, you must be careful to reposition the waver right below the first set of waves. Try to get the exact same positions when you’re covering the rest of your hair. This ensures that you’ll get seamless waves all around your head.
If you only want relaxed waves, then you don’t need to worry about the positioning. Just be careful not to clamp down on the same spots. You don’t want to apply too much heat on them and eventually damage your locks.
Add some finishing touches
You want your hairstyle to stay in place, so put some finishing touches to your locks. If you want glamorous waves, spritz some flexible hair setting spray on your hair. Gently push it up to ensure you’re getting the product in between the curls.
If you want laidback beachy waves, run your fingers through your hair before you spritz some sea salt spray on it. This gives it the texture and crunch you need.
Using a hair waver on short hair
Hair wavers are usually used on long locks because of the bulky size. Besides, they’re too big for short hair. However, there are smaller varieties people can use for their short hair. In any case, they are small enough to only cover a portion of your locks.
If you want to know how you can use it on short hair, it isn’t too different from how you would use it on long hair. Just be more extra careful, especially when sliding your locks in between the barrels. If your hair is short but you want to try this out, you might not have enough to hold on to when you move them in and out of the tool. This can hurt your hand, so be extra cautious.